
zine reviews
Making A Mini Zine Using One Paper
How To Make An 8 Page Mini Zine At Home
Making this zine is a fun and simple project that anyone can do.
The whole family can get involved, even a child would enjoy helping.
-Follow these instructions and you will make an 8 page zine, counting the front and back covers.
-The most important part of the setup is when folding the pages, you line up all the edges perfectly straight.
-Fold the creases flat and nice and sharp so that the spine of the zine closes properly.
-This type of layout works great for mini zines, small fliers and comic books.
-Photocopy the pages after finishing the layout, you can then make as many copies as you would like.
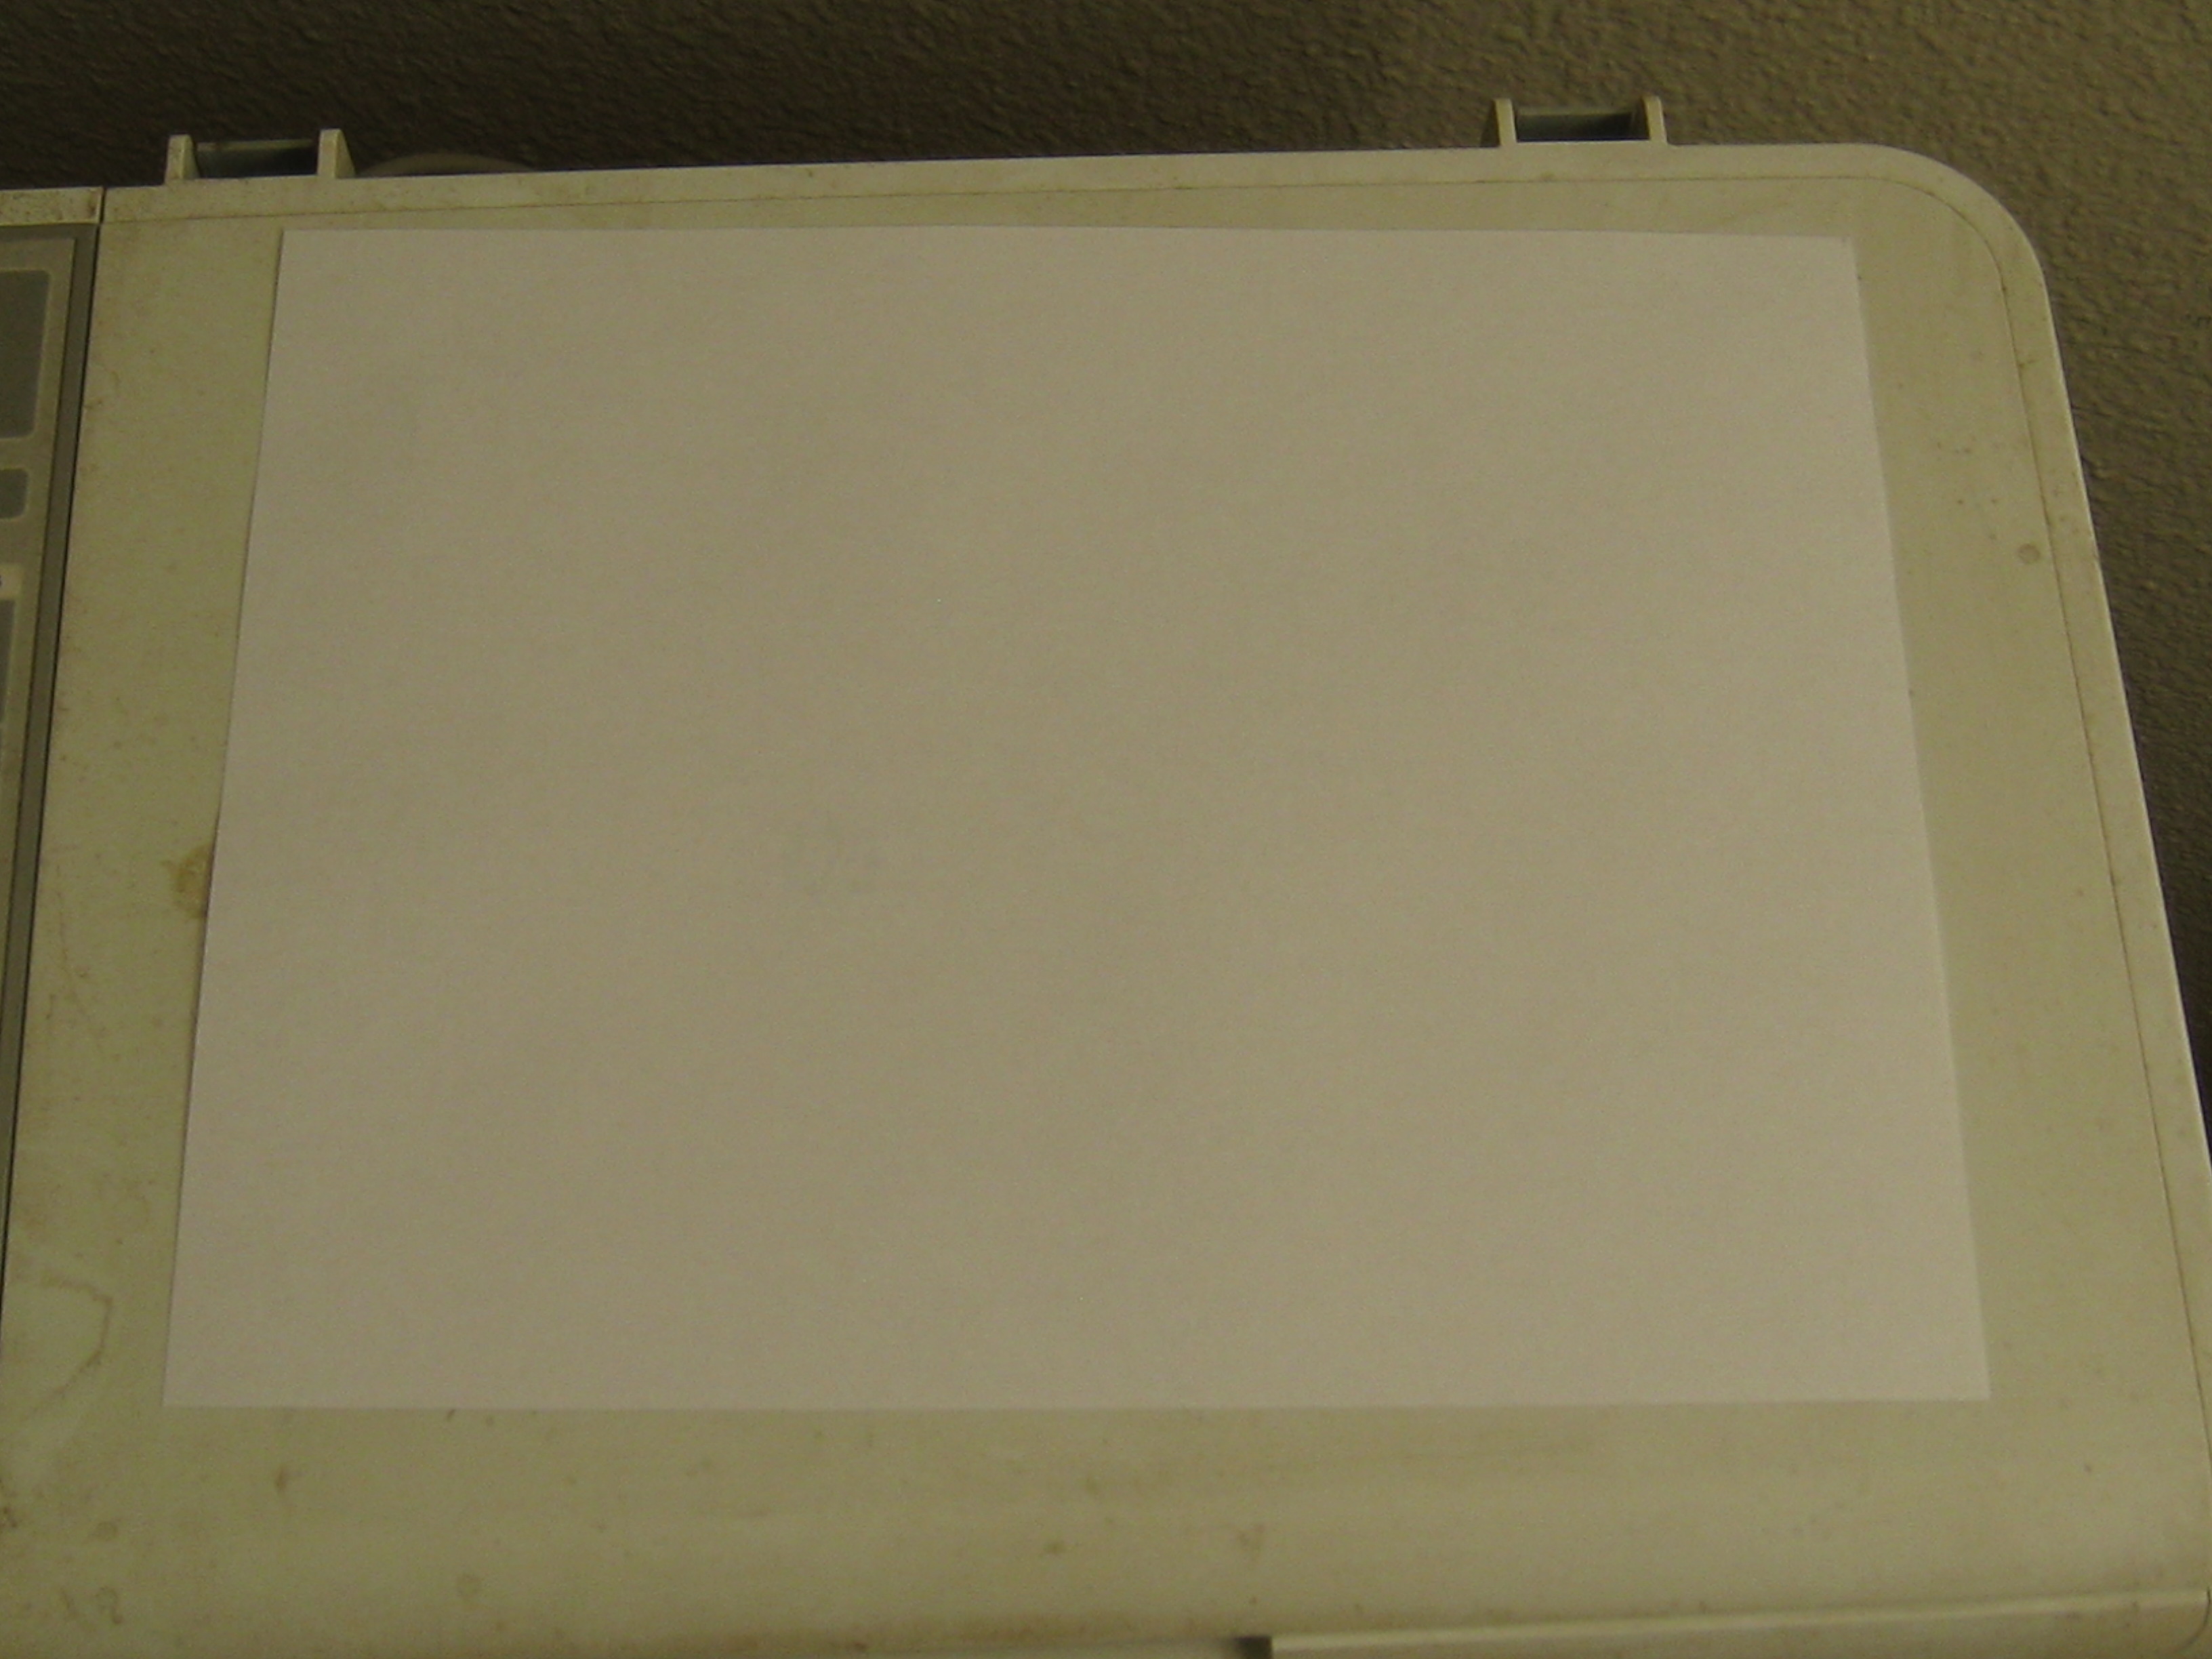
Start with a blank piece of paper (8 1/2 x 11)
You can use a thicker card stock paper for the front and back cover to make the zine stronger.
Now fold the paper hamburger style, (seen below).
(Hamburger style is folding the paper in half. Hotdog style is folding the paper long ways).

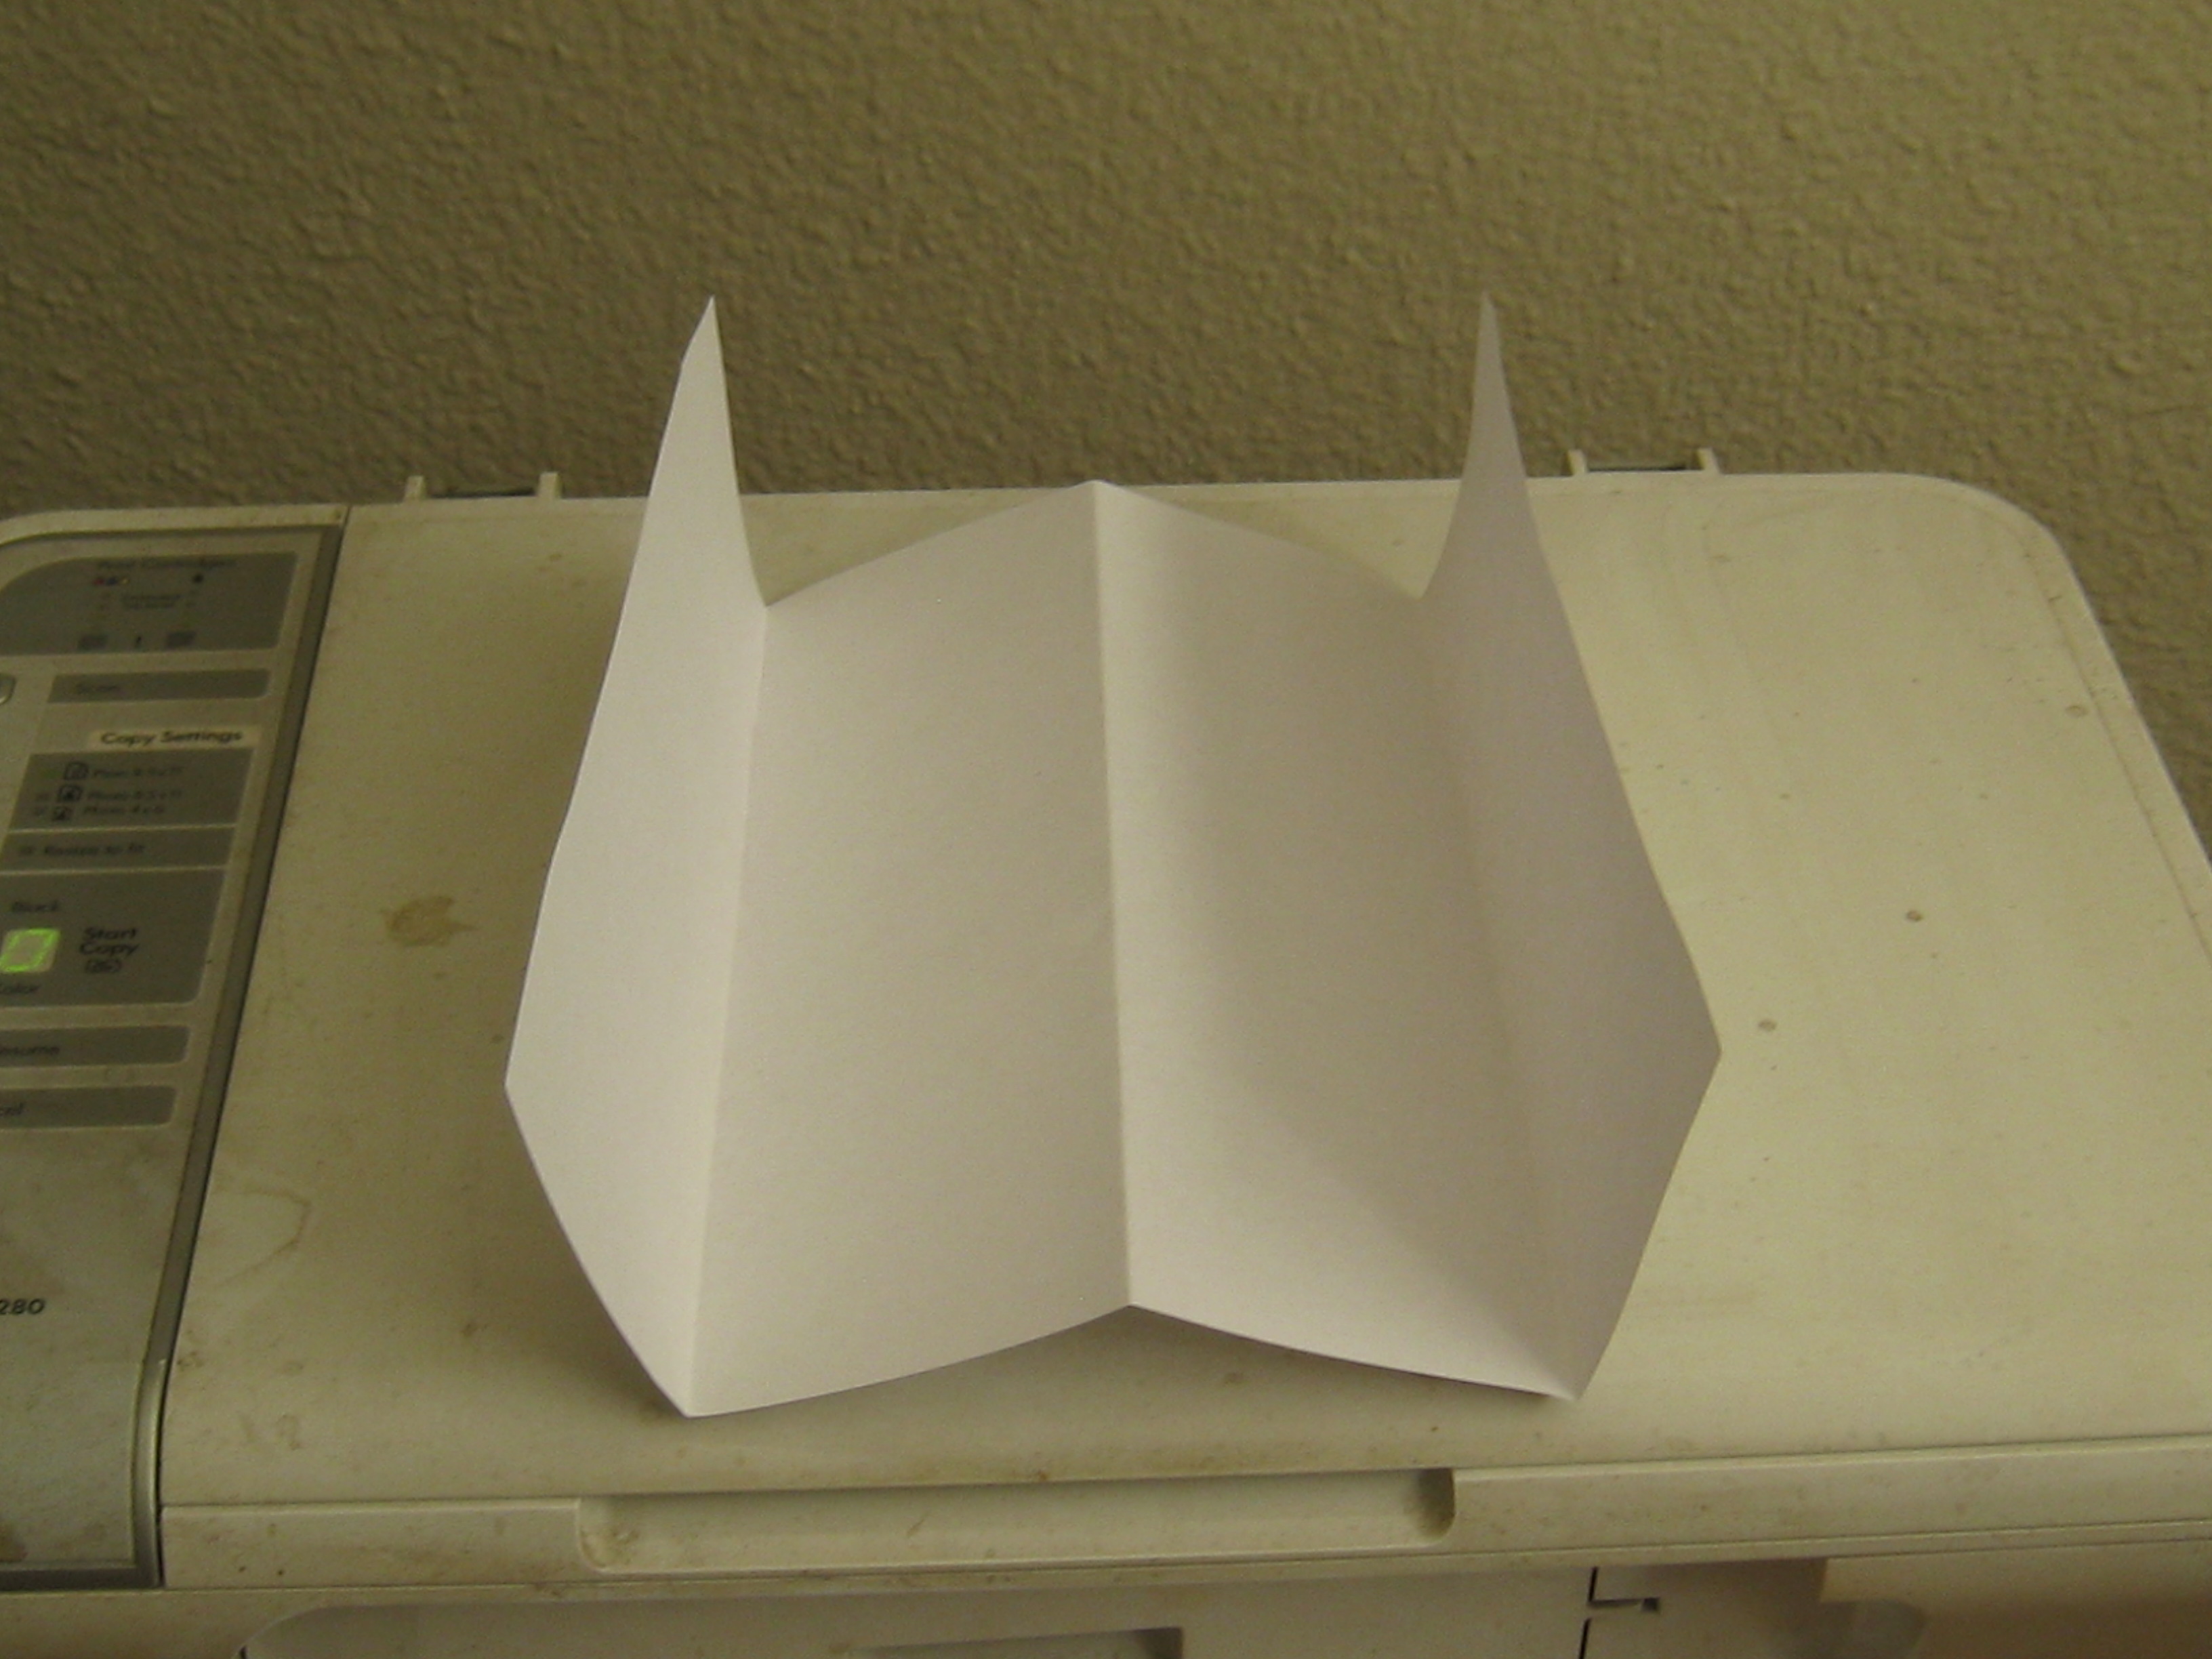
Unfold the paper and fold the sides inward to meet the first crease you made.
It should be folded in the shape of a “W”, (see photo)
Now unfold the entire paper and fold the paper ‘hot dog style.’
Use straight creased folding, both hotdog and hamburger several times over.

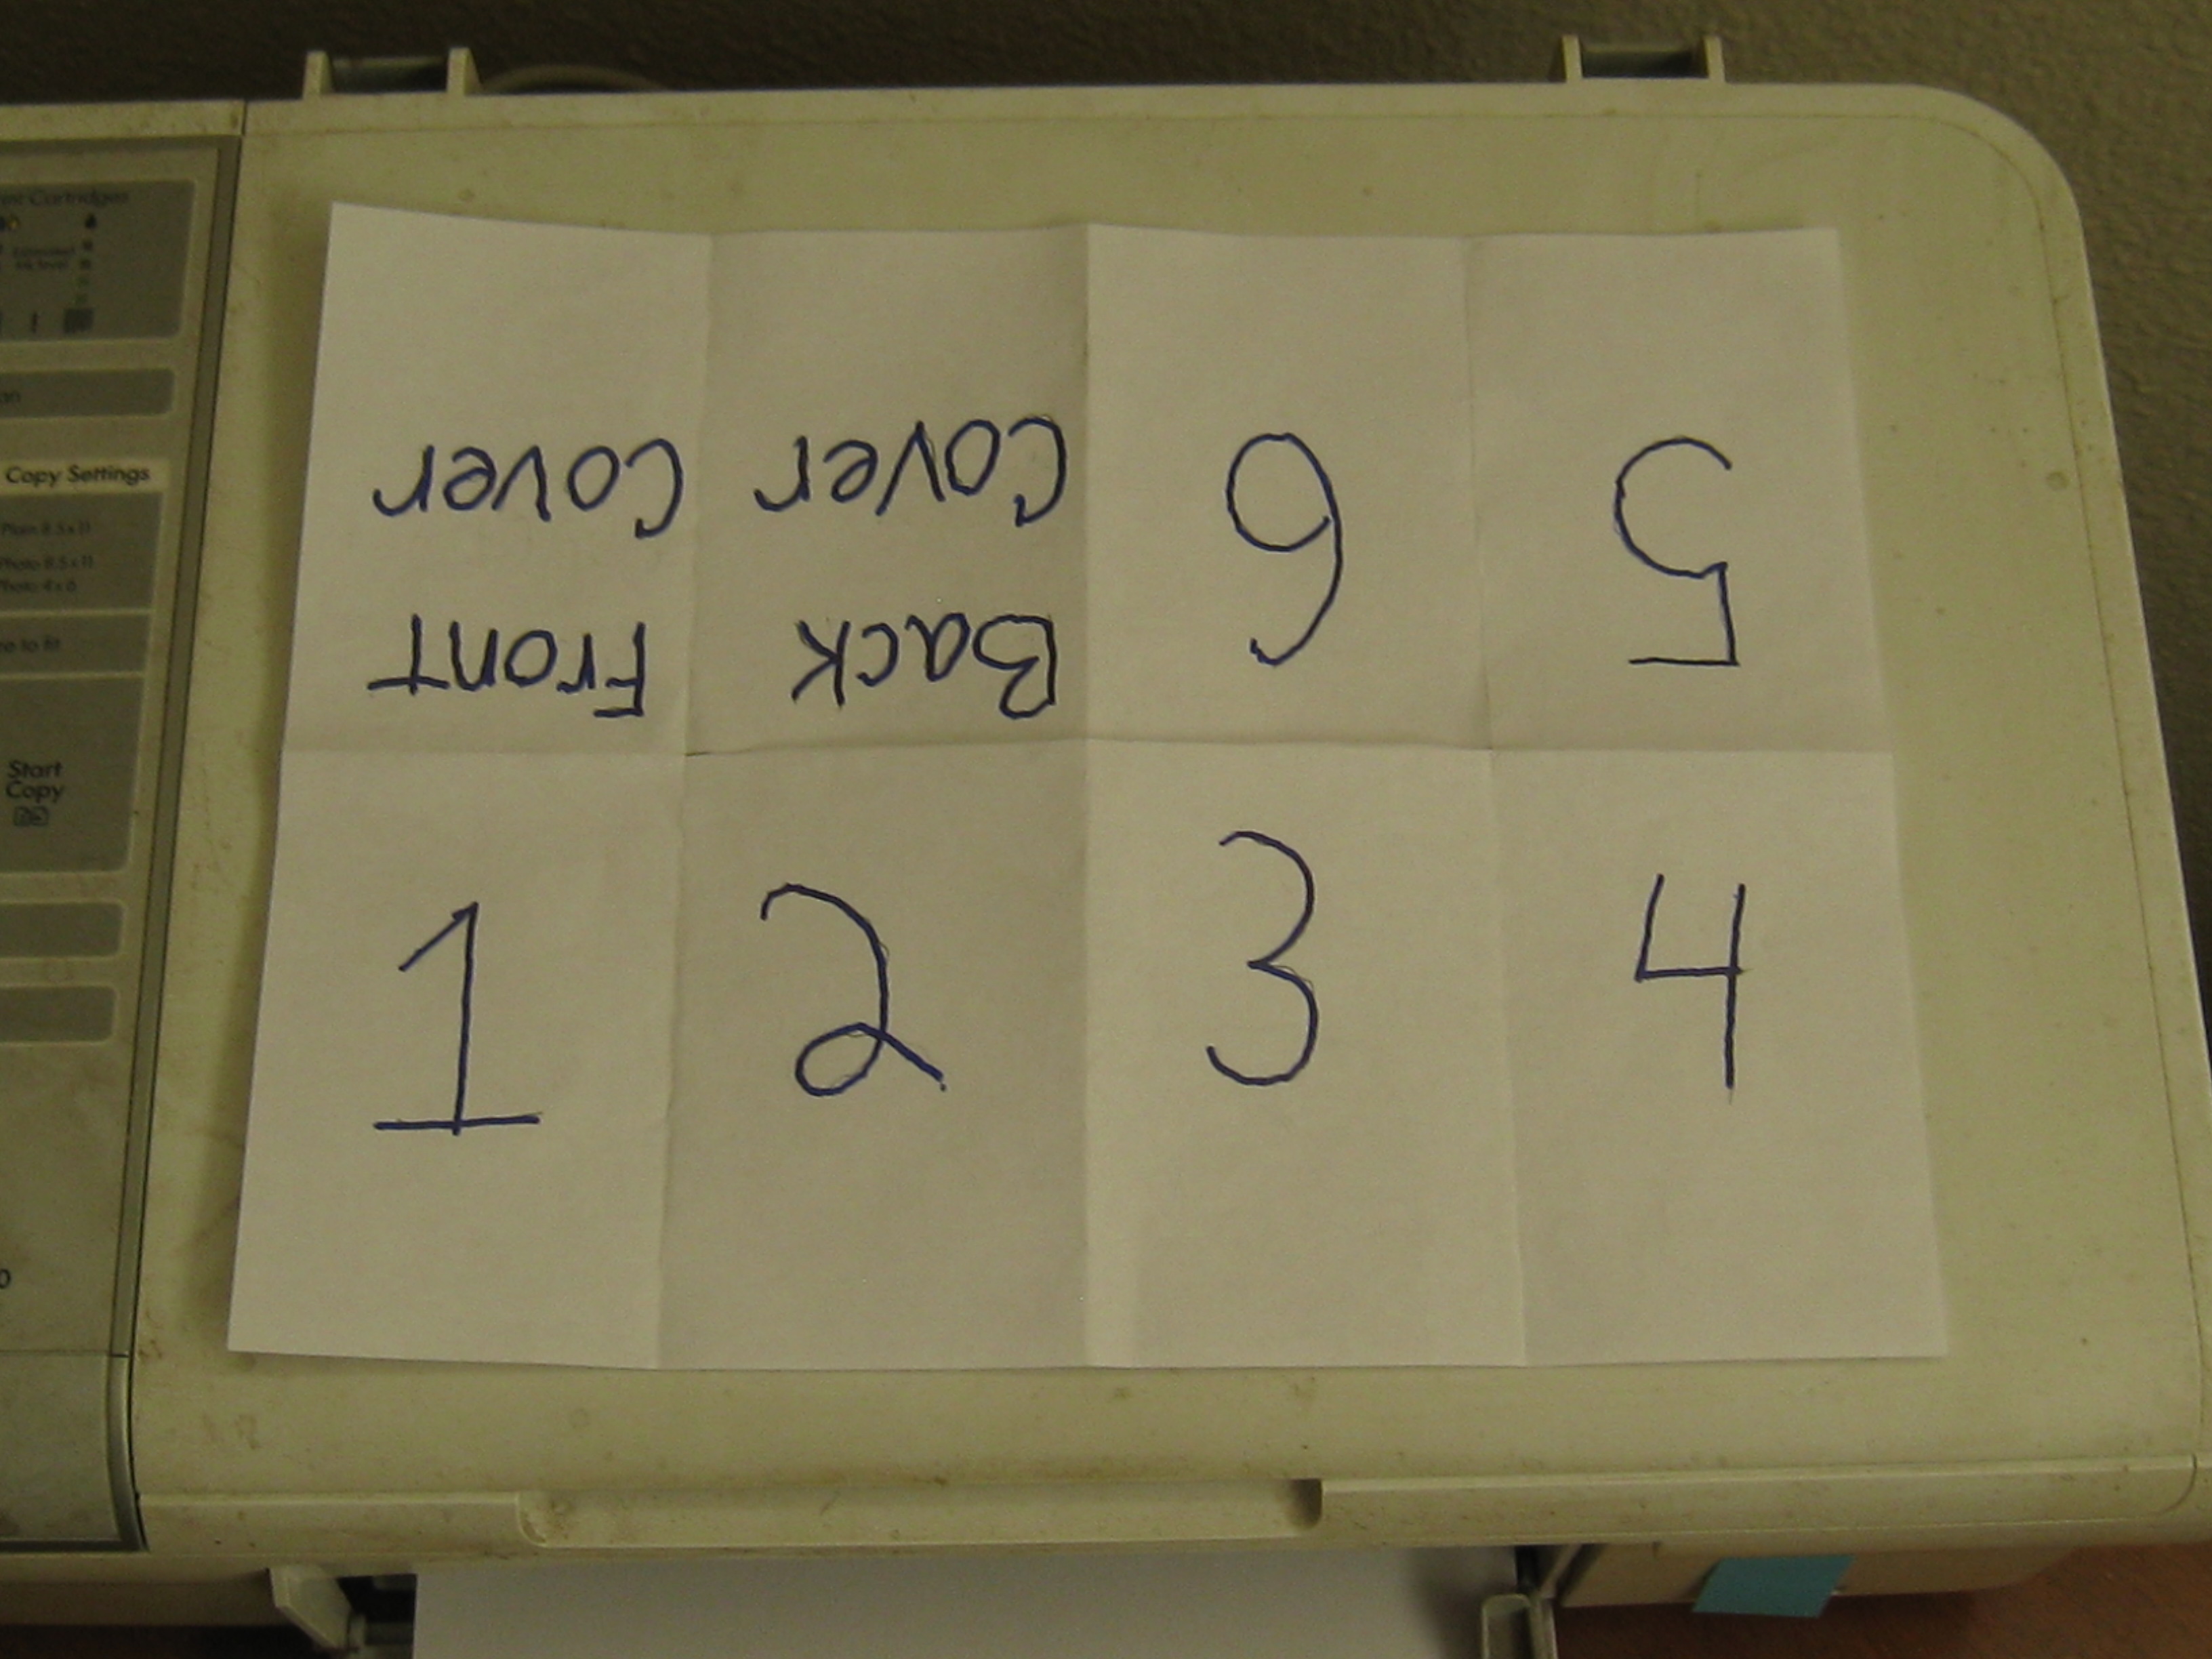
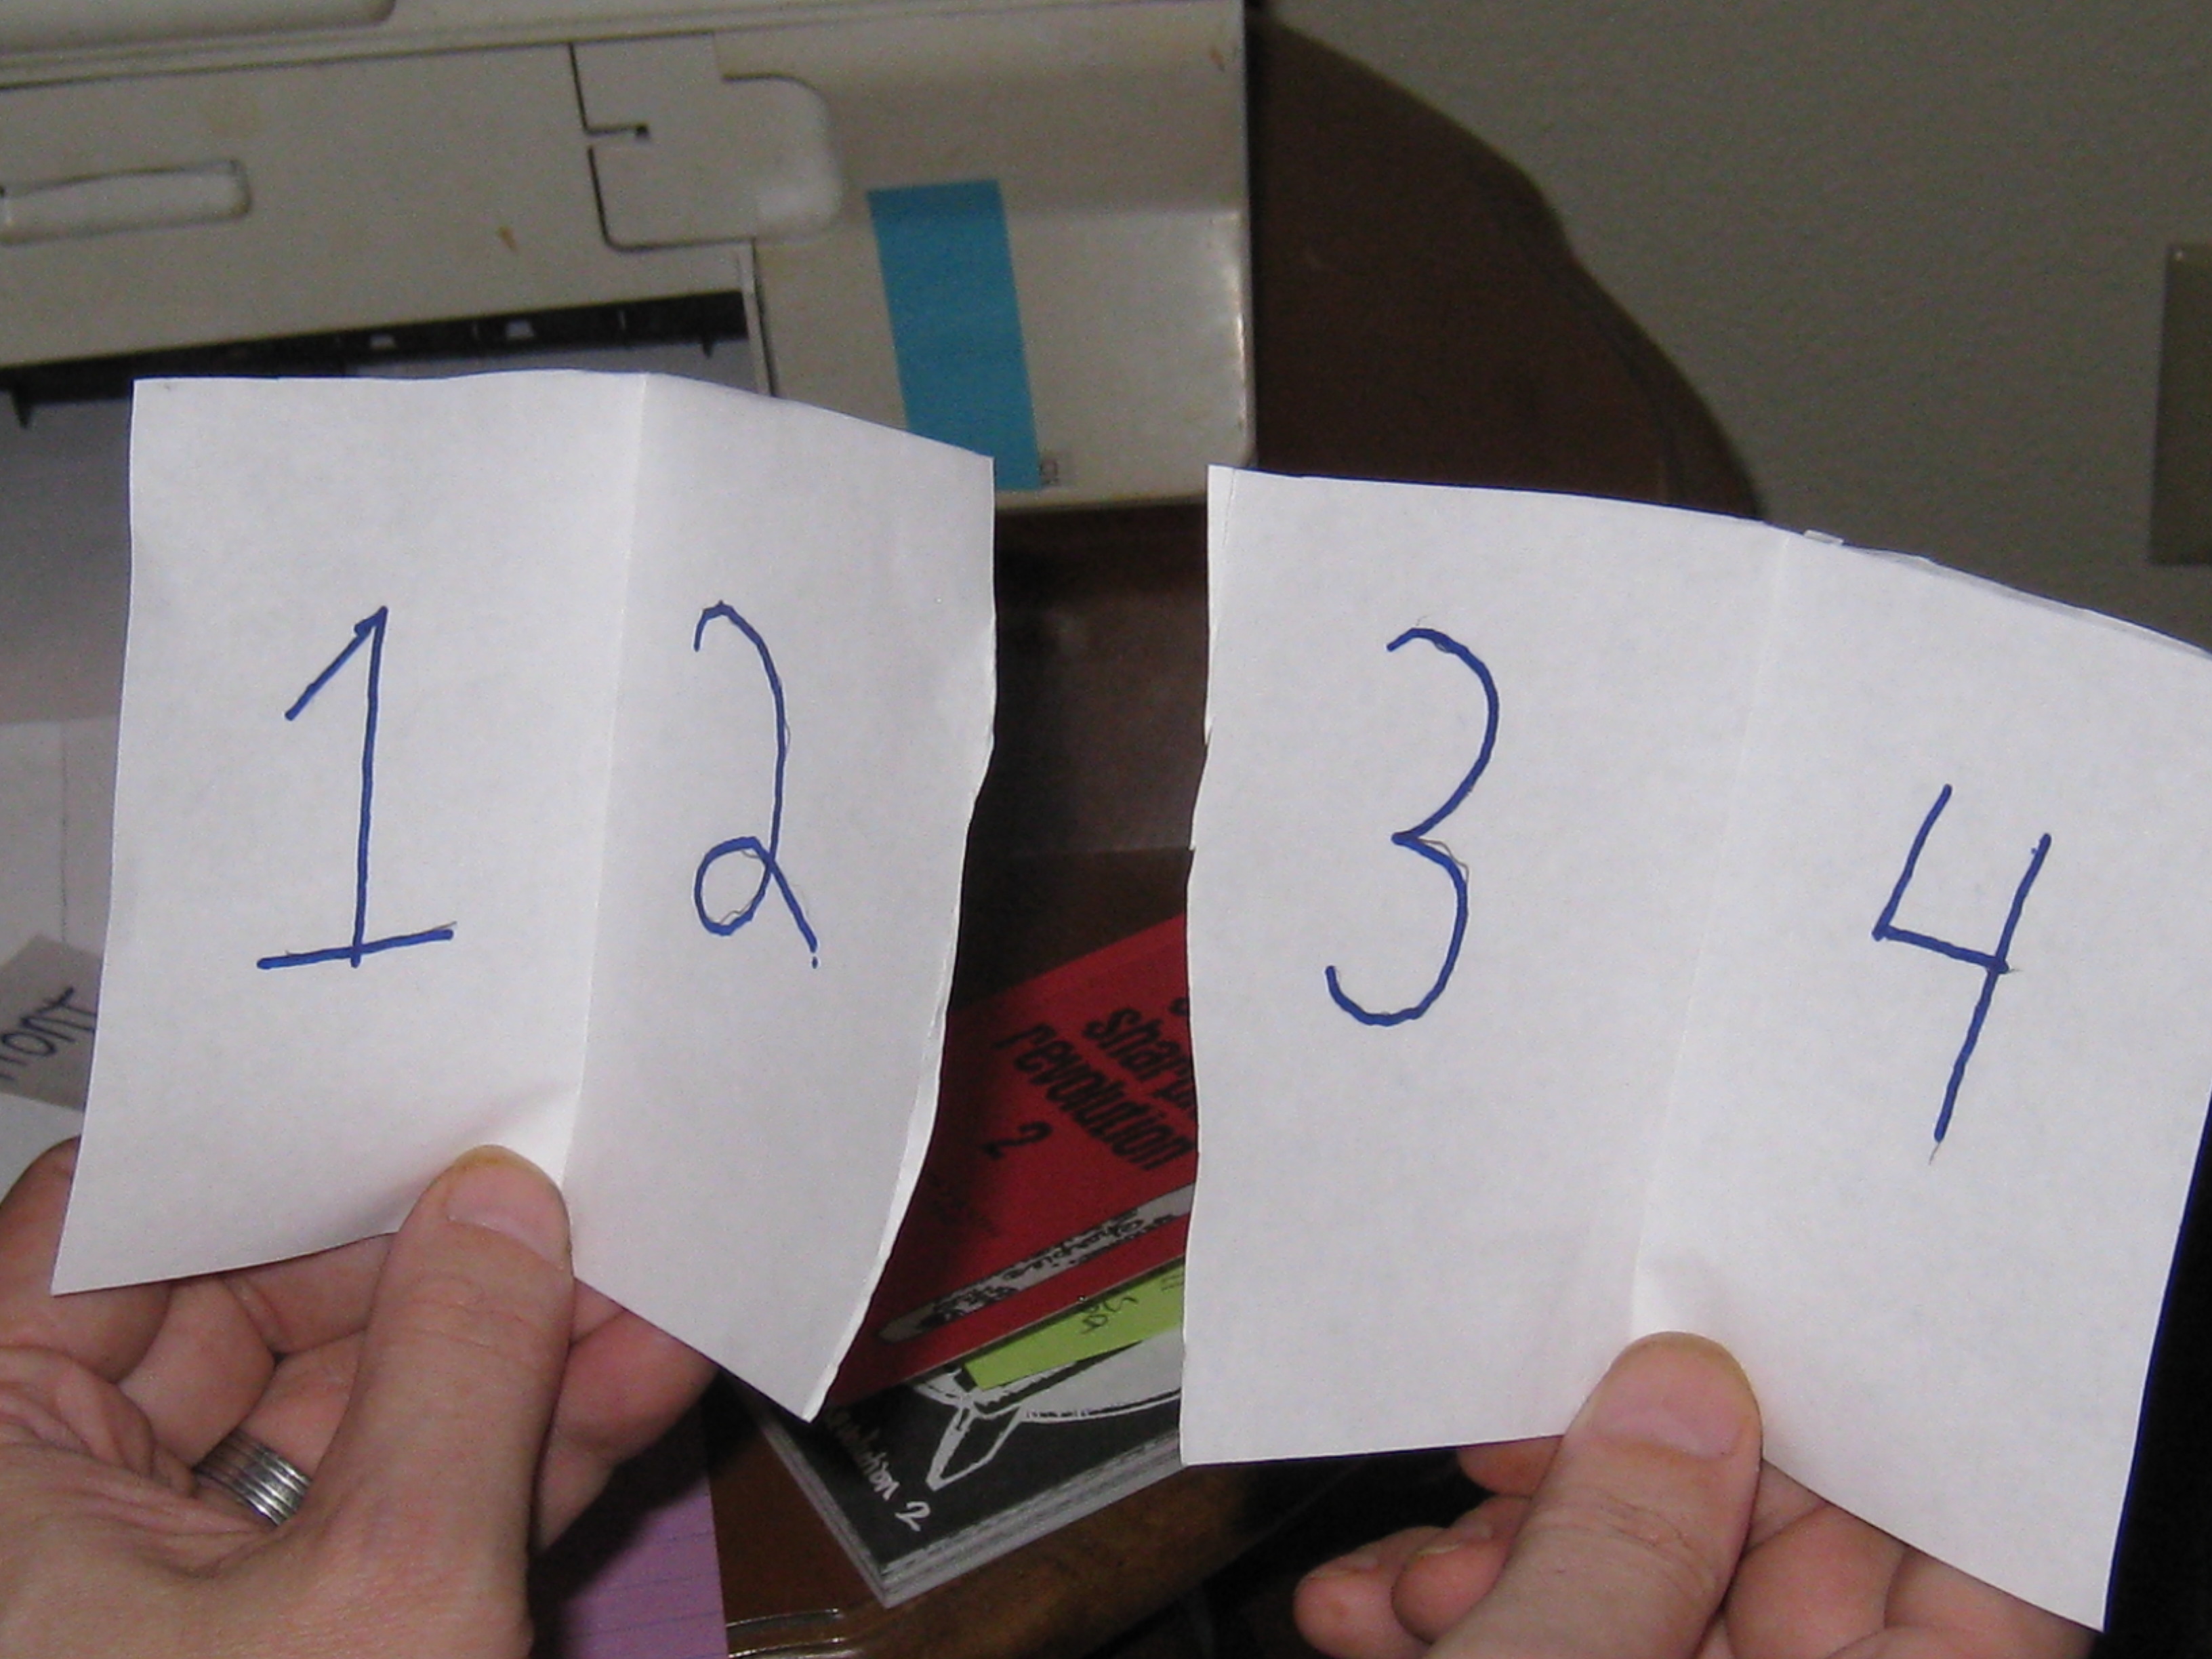
Now unfold the paper, and you should have 8 small page boxes, like yours above and demos shown below.
Some of the numbers are upside down, learn this layout, so you know where to cut and paste your content.
The zine is shown here again in the shape of a “W.”
Now you can put your content on each the page, before the final cut and fold.
Fold the paper accurately at this point, like in photo below, cut the center of the seam down the middle.
Be very careful not to cut past the center segment, stop cutting at the pages folded up, this is why we are folding it this way. (see below) The fold pattern and center cut is KEY to doing this project correctly.

Fold the paper hot dog style again (long ways), and simply push the center inward where you made the cut.
Press the whole zine together so it looks like a plus sign. (See below).

Find the front and back cover and push the folded pages together. If lined up properly they will go into place easily.
Making the creases sharp will hold it together more solid and allow the zine covers to close better.

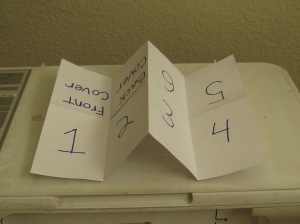
It should look like a mini zine when finished. It gets easier with each time you make one.
You may want to make a mock zine the first time and use a number grid like I did in this example here.

If you don’t like the accordion style for the page layout, you can try other cutting variations.


Cash in on your D.I.Y. writing, art and publishing skills, by making your zine available to the public free, or for a small cost, it’s up to you.
You are now ready to test the waters of marketing your zine by offering your work at web stores like Etsys.com, or by using a zine distribution business, known as a distro.
